

✦
Where Artistry Begins
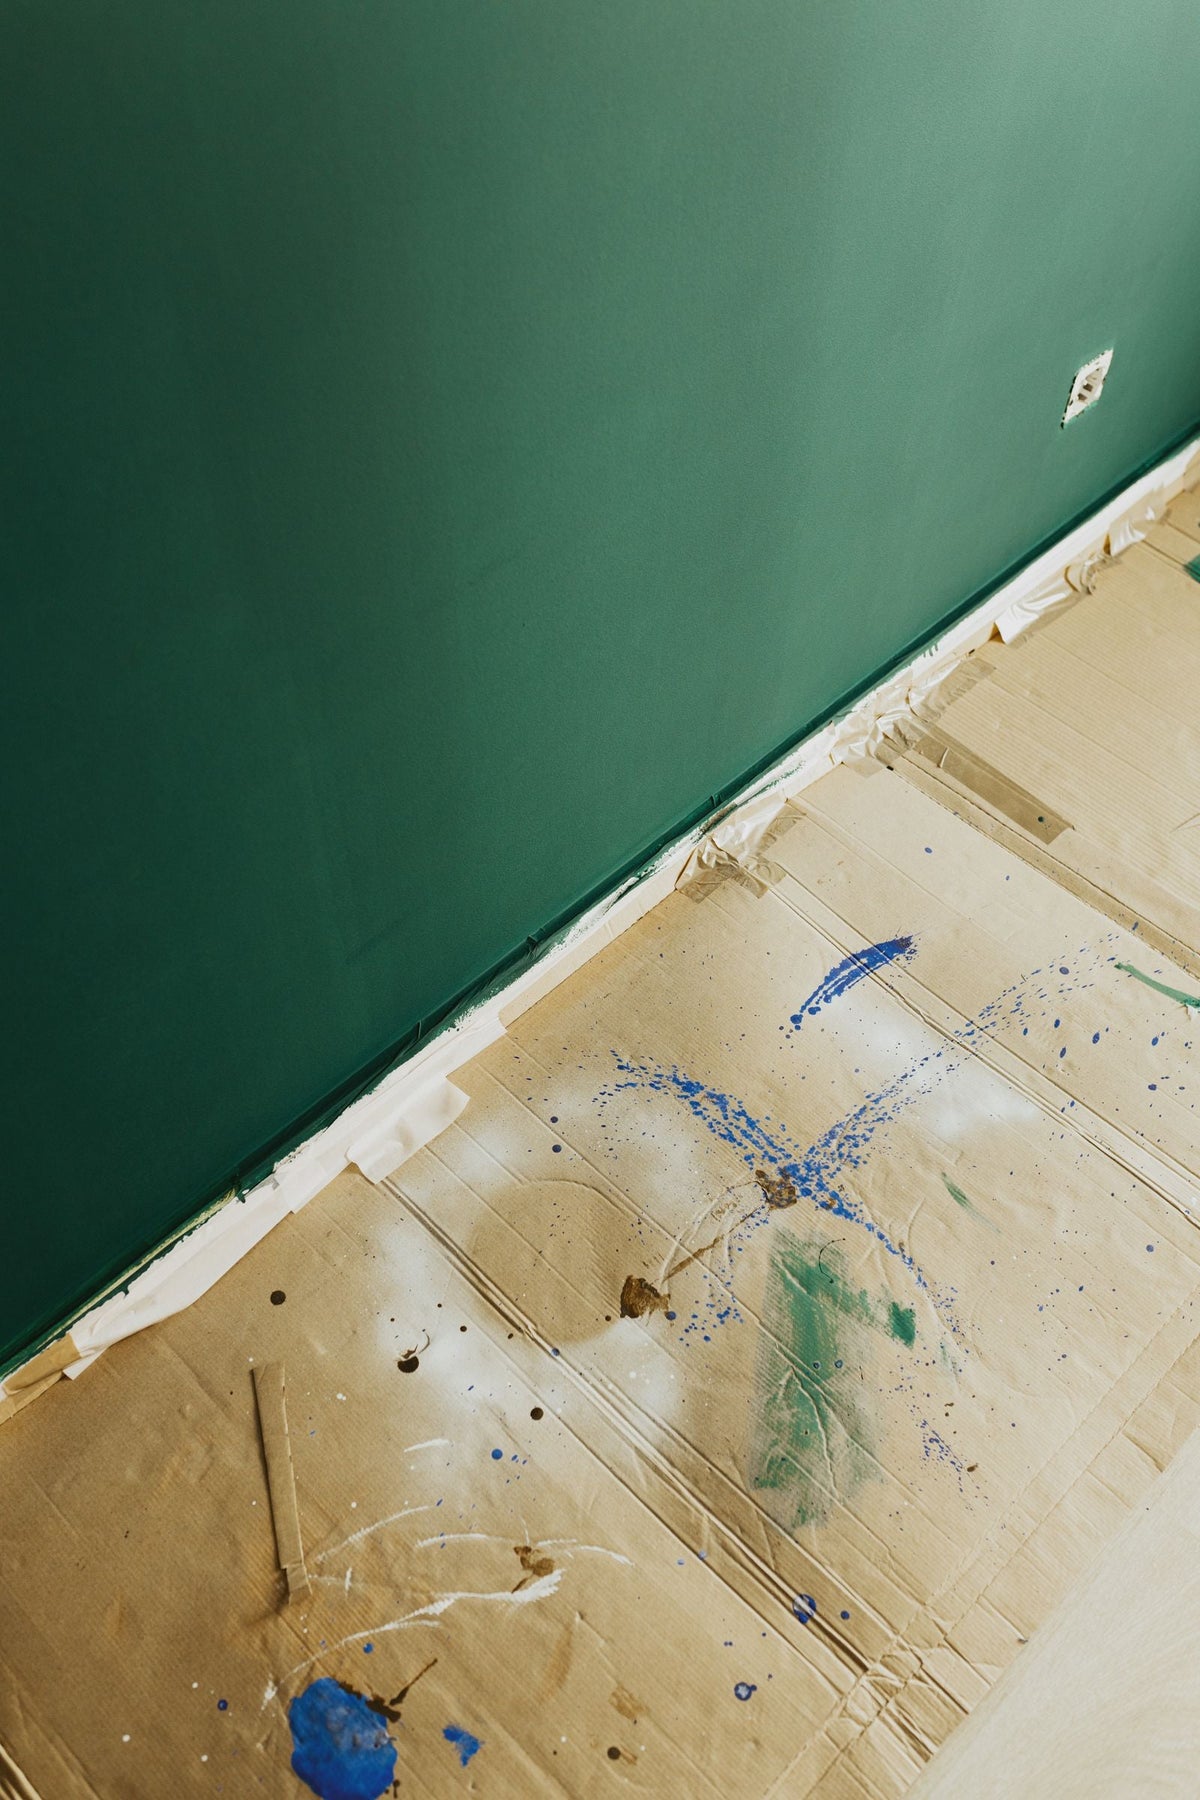
Venetian plaster on plasterboard works, and it is what most of our jobs are. New houses, extensions, refurbished flats and studio partitions are nearly all board, and a flat, dry, properly primed board wall is one of the better surfaces a decorative plaster can sit on. The two things that decide whether it looks right are flatness and the joints. Get those wrong and no amount of skill with a trowel hides it, because a polished finish reflects light and light shows every hollow.
Zavoré lays this for you too. Our own team provides Venetian plaster installation across the UK.
The boarding and the skim coat are not our trade and we do not offer them. We come after that work, and what we need handed over is a wall that is flat, sound, dry and free of dust.
Four things, in order of how often they cause trouble.
Flatness. A matt limewash or a coarse Intonachino will forgive a gently undulating wall. A burnished polished plaster will not. Sheen turns a wall into a mirror, and a mirror reports every ripple, every roller line left in the primer and every proud joint. Before we start, we look down the wall from a low angle with a light held close to it. Whatever you can see then, you will see at the end.
Suction. Board and skim drink unevenly. A patch that has been filled and sanded pulls water out of the first coat faster than the surface around it, and the plaster there stiffens early, which changes how it trowels and how it takes colour. Priming evens that out.
Dust. Sanded filler leaves a fine dust that stops anything bonding properly. It needs brushing and wiping off, not painting over.
Movement. Board moves. Timber studs shrink and a new building settles for its first year or two. Thin decorative coats have almost no ability to bridge a moving joint, so joints have to be dealt with before the decorative coat goes on rather than after.
A board joint is the single most common place for a hairline crack to appear in a finished decorative wall. It is not usually a fault in the plaster. It is the substrate opening slightly and the thin coat above it having nowhere to go.
What helps: a joint that has been taped and filled properly by whoever boarded the wall, a wall that has been allowed to dry and settle before we arrive, and a decorative system chosen with some sense. Where a client wants a high gloss finish on a brand new timber stud wall, we say plainly that a joint may telegraph later, and that a textured or matt finish carries that risk far better.
Internal corners between two boarded walls are the other weak point, and they are worth raising with your builder before the decorating stage rather than afterwards.
Everything goes over a primer. On plasterboard and skim we use a standard acrylic primer to control suction and give the base coat something to grip; our primer comes in a small tub for a room or a 4.5 litre for a whole job. It goes on evenly, in one direction, and it is left to dry fully. A primer applied thickly or unevenly becomes part of the texture you are trying to avoid.
Where a surface is chalky, previously painted, or patched with several different materials, an adhesion additive helps. Our strong adhesion additive goes into the base coat. It is not a substitute for cleaning the wall.
The long version of all of this, including painted walls and older surfaces, is in preparing walls for Venetian plaster.
| Wall as handed over | What it needs before the decorative coat |
|---|---|
| Fresh skim over board, fully dry | Dust off, prime, check flatness in low side light |
| Taped and jointed board, no skim | Joints and screw heads filled flush and sanded, dust off, prime; a base coat is usually needed to unify it |
| Bare board, untaped | Not ready. Send it back to the builder |
| Painted board in matt emulsion, sound | Wash, abrade, prime; adhesion additive in the base coat |
| Painted board, flaking or vinyl silk | Strip or abrade back to something sound first |
| Skim still green or a new building still drying | Wait. Lime and cement based finishes dislike a wet substrate |
Over board we normally build up rather than go straight in with the finish. A base coat, something like Intonachino or a levelling grade, evens out suction, hides minor imperfections and gives the finish coat a consistent bed. Then the finish goes on in two coats over that primed base, trowelled and, depending on the material, burnished or left matt.
How much material you need depends on the finish and the texture, which is why we keep the figures in one place rather than quoting them loosely: see the coverage guide.
All of our range can go on board. Some are simply kinder to it.
If a wall is destined for a high gloss finish, decide that early, because the flatness standard is set by the boarder and the skimmer, not by us. Cracking, where it does happen, almost always traces back to substrate or timing rather than the material, which we go into in why Marmorino cracks.
Yes, if the board is taped, the joints and screw heads are filled flush and sanded, and the whole wall is primed. Over unskimmed board we would normally apply a base coat first to unify the surface. What you cannot do is trowel a finish coat onto bare, untaped board and expect it to hold up.
They can, on a new wall that is still moving. A decorative coat is thin and cannot bridge a joint that opens. Good taping, a wall left to settle, and a matt or textured finish rather than a high gloss all reduce the risk. On a brand new timber stud wall we will tell you honestly what the risk looks like.
Not normally on sound, properly jointed board. Reinforcement is a conversation for problem walls, a history of movement, a junction between two different substrates, or a structure that is known to be settling. It is decided on the wall, not by rule.
Longer than most programmes allow. A fresh skim needs to be dry through, not just dry on the face, and a new building carries a lot of water in its first months. We check the wall rather than the calendar, and we would rather delay a week than lay lime onto a damp substrate.
Where to go next: pick the finish on the polished plaster or Marmorino pages, order primer, base coat and finish together from the shop, and if you would rather the wall were assessed and laid by our own applicators, that is what installation is for.
An outline of what limewash training covers about mixing limewash and the risks of slaking lime, and how to ask Zavoré about it.
BasementsA guide to decorative finishes for London basements, covering media rooms, gyms and wine rooms, why waterproofing must come first, and wh...
CheshireAn in depth guide to seamless microcement and tadelakt bathrooms for homes across Cheshire, and how to choose between them.
CheshireA guide to polished plaster and other decorative finishes for the large modern homes of Wilmslow and Alderley Edge, and where they fit in...
CheshireChester and the Cheshire countryside are full of timber framed, Georgian and Victorian buildings. This guide explains why lime finishes s...
Greater ManchesterHow microcement floors work in kitchen extensions across Greater Manchester, from the screed underneath to underfloor heating and everyda...

Providing luxury finishes for the most prestigious addresses in the world
Venetian plaster, limewash, microcement, tadelakt, metallics, sculptural plaster and gold leaf, supplied and installed by our own team, with Venetian plaster taught at our Birmingham studio.
One list, run by the people who make the material. No noise, and nothing we would not want to read ourselves.
We email as the house has something worth saying, never daily. Unsubscribe from any email, or reply STOP to any text. We never pass your details to anyone.