

✦
Where Artistry Begins
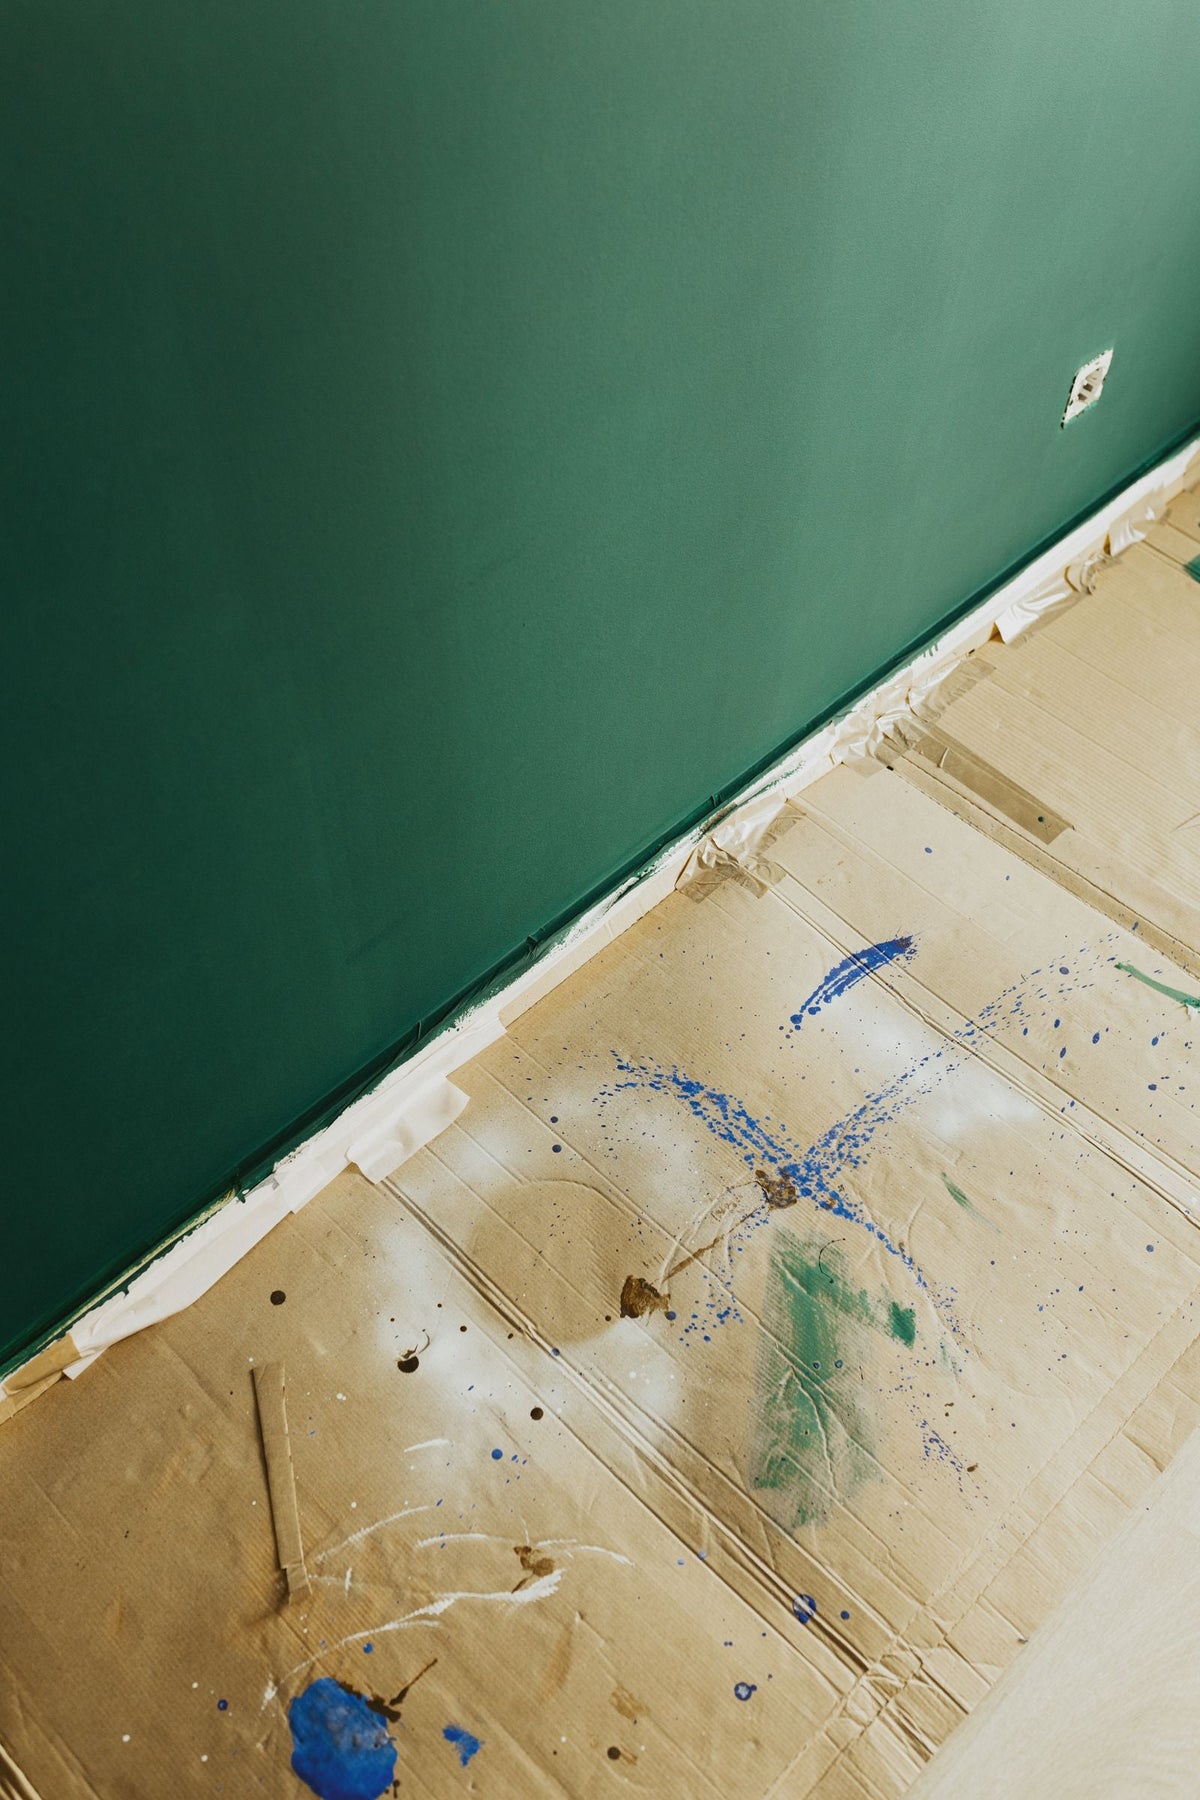
To prepare walls for Venetian plaster, the wall must be sound, dry, clean, flat and primed with the right primer for its surface. New plaster needs to be fully dry; painted walls need cleaning, keying and a bonding primer; plasterboard needs firm fixing and invisible joints; old lime needs any dust and loose material consolidated. Every crack and hollow must be filled and sanded flush, and damp must be cured, not covered. Venetian plaster is laid in thin coats that show everything beneath them, so most failures trace back to preparation rather than to the plaster or the person applying it.
If you want it installed, our own applicators handle Venetian plaster installation from survey to final coat.
A decorative lime finish is a few thin layers pressed and burnished to a sheen. It has no thickness to hide an uneven wall and no flexibility to bridge a moving one. Light travelling across a polished surface picks out every dip, ridge and filled patch that paint would have concealed.
That is why a good applicator spends as long looking at the wall as laying the finish. The installation process article covers the whole job; this one is about the stage before the first coat.
The substrate is the surface the finish goes onto. Each type needs something different.
A freshly plastered wall is an excellent background once it is fully dry. The mistake is rushing it. New plaster can look dry on the surface while still holding moisture underneath, and a finish laid over it will struggle with patchy suction and may mark. Wait until the whole wall is an even, pale colour with no darker patches. Then dust it down and prime.
Painted walls are common and perfectly workable, but the paint becomes part of the substrate. If it is flaking, powdery or peeling, the finish will come off with it. Check adhesion by pressing a piece of strong tape onto the paint and pulling it off sharply. If paint comes away on the tape, it has to be taken back. Sound paint should be washed to remove grease and dirt, then lightly sanded to take the sheen off. Gloss, eggshell and silk paints in particular need keying, because the finish cannot bond to a slick surface.
Plasterboard gives a flat, fast background, but it must be firmly fixed with no flex, and the joints must be invisible. A joint that is not properly taped and filled will show as a line through a polished finish, and a board that moves will crack the finish along it. Where board is uneven or the joints are poor, have it made good before any decorative work starts.
Lime on lime is the most natural pairing there is, and old lime walls suit Venetian plaster well. The issues are dust, soft areas and old repairs. Brush the wall down, tap for hollow spots, cut out anything loose and make good with a compatible material. A soft, dusty surface needs consolidating with primer before anything goes on. Look carefully for patches of modern or cement filler from past repairs, because they absorb differently and can show through.
Check flatness with a long straight edge and a strong light held close to the wall so it skims across the surface. Low side light shows what the finished wall will show.
Fill holes, cracks and dents with a fine filler, slightly proud, and sand it flush once hard. Wide cracks should be opened up and filled rather than skimmed over. Cracks that come back after filling are telling you the wall is moving, and the cause needs finding before any finish goes on.
Once everything is filled, dust the whole wall down thoroughly. Primer does not bond to dust, and neither does plaster.
A primer does two jobs. It evens out suction, meaning how quickly different parts of the wall draw water out of the plaster, and it gives the finish something to grip. A wall with patchy suction dries unevenly and marks.
| Surface | Primer | Why |
|---|---|---|
| New plaster, old lime, porous sound surfaces | Primer (£10) | Evens suction so the finish dries consistently |
| Painted walls, plasterboard, smooth mineral surfaces | Specialist primer, 4.5 litres (£34) | Gives the base coat adhesion on a surface that will not absorb |
| Glossy or non absorbent surfaces, such as gloss paint or glaze | Specialist primer plus strong adhesion additive (£15) in the base coat | Extra grip where the surface offers almost none |
Always prime filled patches along with the rest of the wall, never only the patches. Apply primer evenly across the whole surface and let it dry fully before the base coat. For how much material a primed wall takes, see the coverage guide.
Damp is the single thing preparation cannot fix on its own. A lime finish is breathable and will tolerate a wall that is dry but breathing, but it will not survive a wall with an active water problem, and nor will anything else.
Signs to look for include tide marks, peeling paint low on the wall, a musty smell, black mould and white crystals on the surface. Those crystals are salts, carried through the wall by water and left behind as it evaporates. They are called efflorescence. Salts will push a finish off from behind and keep coming back until the water source is dealt with.
Find and fix the source first: a leak, a failed gutter, bridged damp proofing or condensation. Then let the wall dry out, brush off the salts and check again before starting. Do not seal a damp wall under an impervious coating to hide it; that traps the moisture and moves the problem.
If the wall is papered, see why Venetian plaster should not go over wallpaper.
Yes, if the paint is sound. Test it by pressing strong tape onto the wall and pulling it away; if paint lifts, remove it. Wash the wall to remove grease, sand to take off any sheen, and use a specialist bonding primer. On gloss or eggshell, add an adhesion additive to the base coat as well.
Always. Primer evens out the suction across the wall so the finish dries consistently, and on smooth surfaces it gives the base coat something to grip. Without it you risk patchy colour, marks over filled areas and poor adhesion. Choose the primer for the surface: standard for porous walls, the specialist primer for smooth or painted ones.
Flatter than for paint. Polished finishes reflect light and exaggerate every undulation, so check the wall with a straight edge and a light held close to the surface. Anything you can see in low side light will show in the finished wall. Textured finishes such as Marmorino are more forgiving than high gloss polished plaster.
No. Lime is breathable, but it cannot cure damp. Water moving through the wall carries salts that crystallise on the surface and push the finish off. Find and fix the source, let the wall dry out, brush off any salts and check again before any primer or plaster goes on.
Where to go next: primers and additives are in the shop, alongside the finishes themselves, including polished plaster and Marmorino. Surface preparation and base coats are the first things taught on our beginner course, and if you would rather we prepared and finished the wall for you, our installation team covers the UK.
An outline of what limewash training covers about mixing limewash and the risks of slaking lime, and how to ask Zavoré about it.
BasementsA guide to decorative finishes for London basements, covering media rooms, gyms and wine rooms, why waterproofing must come first, and wh...
CheshireAn in depth guide to seamless microcement and tadelakt bathrooms for homes across Cheshire, and how to choose between them.
CheshireA guide to polished plaster and other decorative finishes for the large modern homes of Wilmslow and Alderley Edge, and where they fit in...
CheshireChester and the Cheshire countryside are full of timber framed, Georgian and Victorian buildings. This guide explains why lime finishes s...
Greater ManchesterHow microcement floors work in kitchen extensions across Greater Manchester, from the screed underneath to underfloor heating and everyda...

Providing luxury finishes for the most prestigious addresses in the world
Venetian plaster, limewash, microcement, tadelakt, metallics, sculptural plaster and gold leaf, supplied and installed by our own team, with Venetian plaster taught at our Birmingham studio.
One list, run by the people who make the material. No noise, and nothing we would not want to read ourselves.
We email as the house has something worth saying, never daily. Unsubscribe from any email, or reply STOP to any text. We never pass your details to anyone.