

✦
Where Artistry Begins
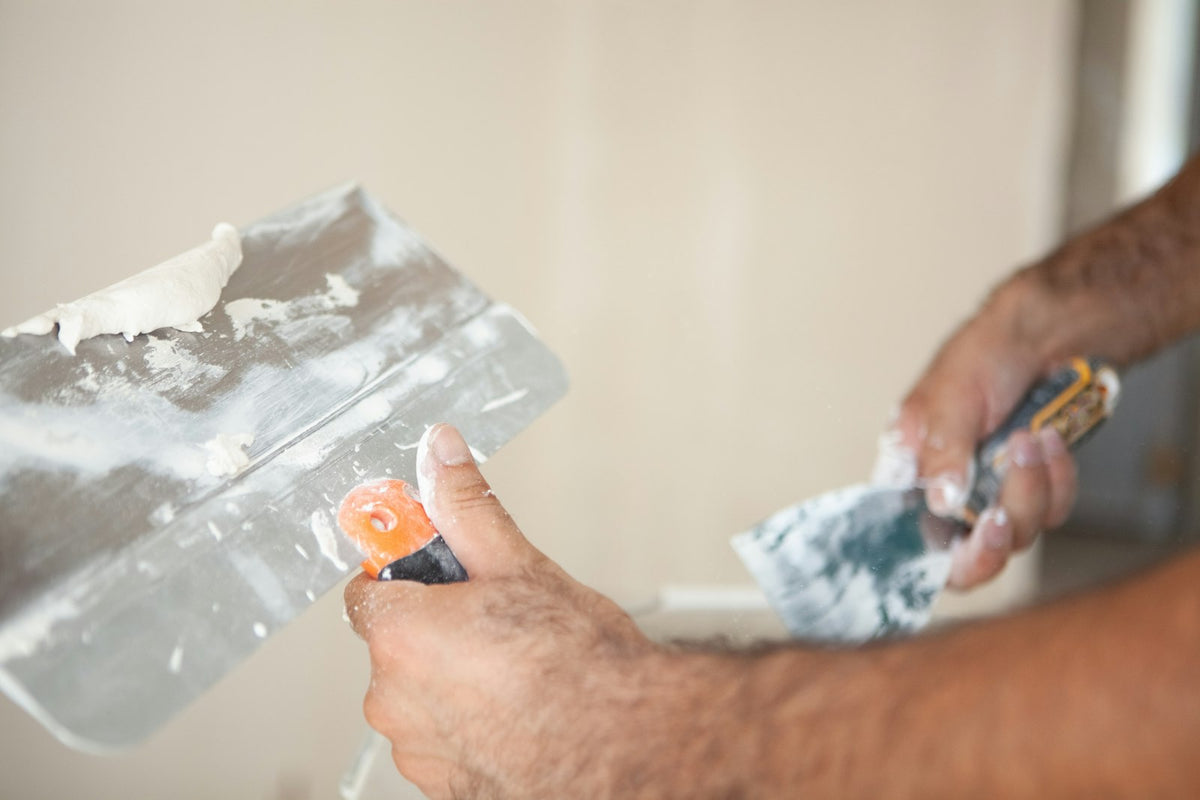
Polished plaster is applied by hand in a series of very thin coats of lime based plaster, each one troweled on, left to firm up and then pressed harder than the last until the final layer is burnished to a sheen. Zavoré artisans apply it this way in homes and businesses across London, Birmingham, Manchester and the wider UK. The finish is only as good as the wall beneath it, so preparation comes before any decorative coat.
Our page on polished plaster explains the material and the range of sheens, and the guide to Venetian plastering across the UK shows the areas we cover. Below, we walk through what actually happens on the wall, from the first check to the last pass of wax.
Before anything is mixed, the wall is surveyed. We want to know what it is made of, whether it is flat, whether there are cracks, damp or movement, and how the room will be used. Solid brick with old lime plaster behaves differently from new plasterboard, and a kitchen asks more of a finish than a bedroom.
Preparation then follows from what we find. Hollows and bumps are filled or skimmed. Loose material is removed. On plasterboard, the joints are reinforced so they do not show through as fine lines later, and the right primer is used so the plaster grips evenly. Old walls with a damp problem need that fixed first, since no decorative coat will cure it. This stage is unglamorous, yet it decides the quality of everything that follows.
A glossy surface works like a mirror held at an angle. Light travelling along the wall picks out every ripple, joint and patch, so a wall that looks fine under emulsion can look uneven once it is polished. Taking the time to get it flat is what separates a calm, stone like result from one that shows its history.
The first decorative layer is spread thinly with a stainless steel trowel, working in short, overlapping strokes. It is not meant to be perfect. Its job is to give the wall an even, tinted base that the later coats can bond to. The pattern of strokes here starts to set the character of the finish, whether that ends up as a soft cloud of movement or a cleaner, more uniform look.
The coat is then left to dry. How long that takes depends on the temperature, the humidity and the wall itself, which is one reason we never promise a fixed timescale before the survey.
Each following coat is thinner than the one before. The artisan lays it on, then works back over it as it begins to firm up, closing the surface and compacting the plaster beneath the blade. Colour deepens with each pass, and the variations that give Venetian plaster its depth begin to show. In a large room, keeping the same rhythm across the whole wall matters, which is why we plan jobs in blocks of days so the same artisans carry the work through.
The last layer is where the sheen comes from. As the plaster reaches the right stage of dryness, the trowel is held almost flat and pressed hard across the surface, again and again. The pressure compacts the plaster and lifts a glow from within the material itself. A soft satin needs less burnishing; a deep, glassy shine needs more. Your approved sample shows which you have chosen before the job begins.
Once the wall has cured, a protective layer goes on. A wax can be buffed to deepen the shine and adds a degree of water resistance, which suits hallways, living rooms and kitchens away from the hob. A sealer may be chosen where a wall needs more protection. Venetian plaster is still not suitable inside a shower; tadelakt or microcement on a waterproofed wall is the right choice there. Day to day care is simple, usually a soft, damp cloth.
Whether you are in a London mansion block, a Birmingham townhouse, a Manchester apartment or a country house elsewhere in the UK, the process above stays the same. It starts with photos, drawings and rough measurements, moves on to a survey, then a sample in one of 48 house colours or any NCS reference, and only then to dates. Our Venetian plaster installation page lists the finishes we lay, from polished plaster and marmorino to travertino, limewash and concrete effect.
It varies with the wall, the colour and the sheen you want. A softer finish needs fewer passes, a high gloss needs more, and every coat is very thin. We set the exact build up when we make your sample, so the wall matches what you approved.
Not straight away. The joints need reinforcing, any screw heads and edges need filling, and the right primer has to go on so the plaster bonds evenly. Done properly, board walls make an excellent flat base for a polished finish.
Lime is caustic while it is wet, so gloves and eye protection are needed during application. Once the plaster has cured on the wall it is stable. If you are learning the technique, our courses cover safe handling as part of the training.
Yes, in person. The Zavoré Academy in Birmingham, opened in 2023, and our London and Manchester centres run a 3 day Beginner Course, a 4 day Advanced Course and 3 days of 1 to 1 Training. All materials are included, and every session is taught face to face.
If you would like polished plaster laid at home or at work, email photos and rough measurements of the walls with your address to sales@zavore.co.uk, or call +44 7592 929191. You can order a sample board to choose a colour, and plaster materials are also available in our shop.
How microcement floors work in kitchen extensions across Greater Manchester, from the screed underneath to underfloor heating and everyda...
Buying GuideA product by product guide to the protective finishes in the Zavoré shop and which plaster each one is made for.
CommercialWhat London restaurant, bar and hotel operators should know about decorative plaster. Which finishes stand up to busy service, out of hou...
BirminghamFor people thinking about leaving another job for decorative plastering. What a beginner course at the Zavoré Academy covers, the gap bet...
TadelaktAn in depth guide to tadelakt, the polished Moroccan lime plaster, for bathrooms and wet rooms in Welsh homes, cottages and holiday lets.
DubaiHow polished plaster works on staircases and lift lobbies in Dubai villas, from tall stair walls and handrail fixings to protecting busy ...

Providing luxury finishes for the most prestigious addresses in the world
Venetian plaster, limewash, microcement, tadelakt, metallics, sculptural plaster and gold leaf, supplied and installed by our own team, with Venetian plaster taught at our Birmingham studio.
One list, run by the people who make the material. No noise, and nothing we would not want to read ourselves.
We email as the house has something worth saying, never daily. Unsubscribe from any email, or reply STOP to any text. We never pass your details to anyone.