

✦
Where Artistry Begins
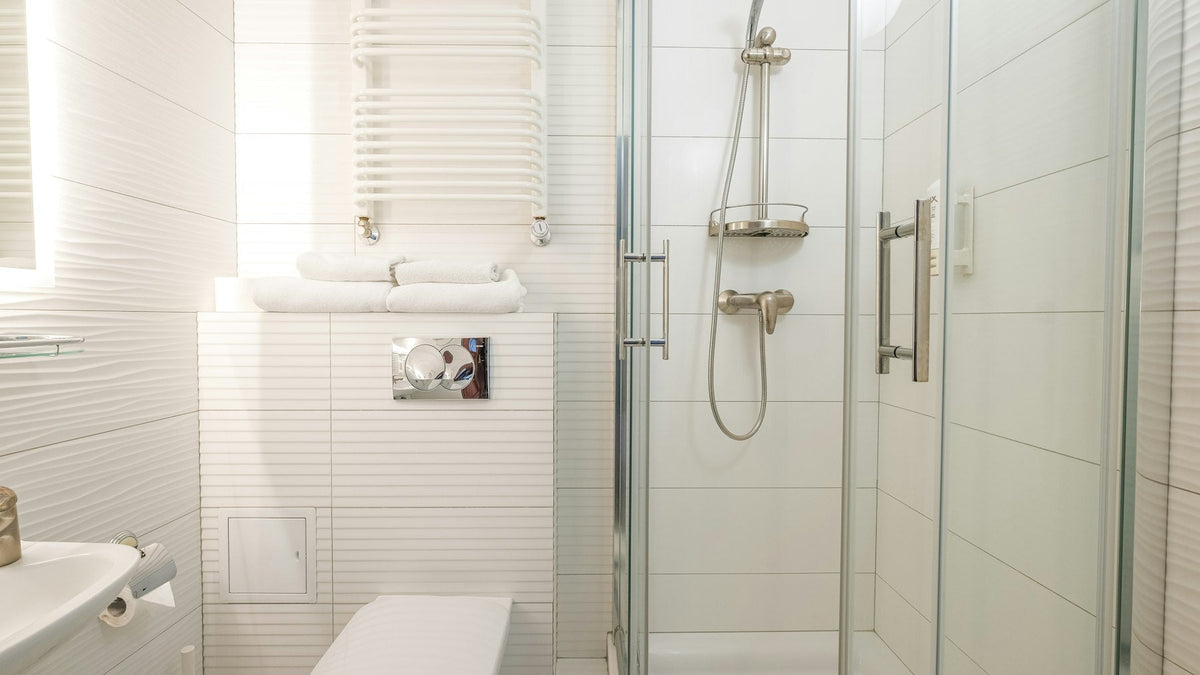
A microcement shower tray is a seamless cement based floor laid over a formed, tanked base, so the shower floor runs into the walls with no grout lines and no visible tray edge. The important thing to understand before you commit to one is that the microcement is the finish, not the waterproofing. The fall and the waterproof layer are built underneath it. Get those two right and a microcement tray will serve you for years. Get them wrong and the finish will fail no matter how carefully it was laid.
Zavoré lays this for you too. Our own team provides microcement installation across the UK.
We supply microcement and we lay it ourselves, so what follows is the build up we use and the mistakes we get called out to fix.
Working from the structure outwards, a microcement shower tray has four layers and each one has a single job.
The former or screed. This is what creates the fall to the drain. It can be a rigid preformed shower base designed for a tiled or coated finish, or a screed laid on site to falls. Either way it must be solid, non flexing and fully supported. Microcement is a thin coating measured in millimetres, so it takes the shape of whatever is beneath it. It cannot create a slope and it cannot bridge a soft spot.
The waterproofing. A tanking system, liquid membrane or sheet membrane with matching tapes and a drain collar, goes over the former and up the walls, dressed into the drain flange as the manufacturer instructs. This is the layer that keeps water out of the building. Everything above it is decoration.
The microcement. Primer appropriate to the membrane, then the microcement in coats, worked out to a flat, even surface with the fall carried through cleanly.
The seal. A penetrating or film forming sealer suited to constant wetting, applied in coats to a clean, cured surface. We stock a sealer (£25) and a waterproofer (£11) for the coating stage; neither of them replaces a tanking membrane, and we will always say so.
The fall is the whole job. Water has to leave the tray under gravity, from every point on the floor, without ponding anywhere. On a small square tray a single fall to a centre or corner gully is straightforward. On a long linear drain the floor is a single plane tipped towards the channel, which is easier to lay flat and easier to get right.
Two details matter more than people expect. The first is the drain junction: the microcement has to finish neatly against the drain frame, and the membrane has to be sealed to the flange beneath, not just butted up to it. The second is the wall junction. A tray that runs into microcement walls should have the membrane taken up the wall and the coating carried around the internal corner in one continuous pass, so there is no seam sitting in the wettest part of the room. If the walls are tiled or glazed instead, that junction wants a proper sealant joint.
Doorways and thresholds need thinking about too. The tray edge is where a seamless floor stops being seamless, and it is the edge that gets kicked, wheeled over and stood on.
These are the two seamless options we get asked about, and they behave differently.
| Microcement | Tadelakt | |
|---|---|---|
| Material | Cement based coating with polymers and fine aggregate | Lime plaster burnished and cured with soap |
| Look | Modern, mineral, close to smooth concrete | Soft mottled sheen with visible hand movement |
| Water resistance | From the sealer, over a tanked base | From the burnish and the soap treatment, over a tanked base |
| Upkeep | Reseal periodically, neutral cleaner | Resoap periodically, no acids |
| Colour | Wide range, tinted in the tub | Lime palette, softer and chalkier |
Neither is waterproof on its own. If the seamless look is what you are after, read our comparison of tadelakt and microcement and then look at the tadelakt page as well as the microcement one, because the two finishes suit different bathrooms.
It is, if you want a continuous floor with no grout, you are happy to have the base formed properly first, and you accept that the surface needs resealing as part of normal upkeep. It is not, if the floor is bouncy and cannot be stiffened, if the room has to be back in service in a couple of days, or if nobody is taking responsibility for the tanking.
Honest answer on cost: it is not a cheap way to finish a shower. The screed, the membrane and the applicator time all sit underneath a finish that looks simple. Our microcement bathroom guide walks through the rest of the room, and if you want the work done rather than the materials, our own applicators cover the UK from Birmingham. See installation.
No, not by itself. Microcement is water resistant once sealed, but a shower needs a tanking membrane underneath it to keep water out of the structure. Anyone telling you the coating alone is enough is skipping the layer that matters. Treat the microcement as the finish and the membrane as the waterproofing, and the two together work well.
Sometimes, if the tray is rigid, sound, correctly sloped and the surface can be primed for adhesion. Acrylic and stone resin trays flex and are usually a poor bet. A solid screed or tiled base is a better candidate. We would want to see it first, because a tray that moves will crack whatever is laid on top of it.
It depends on how hard the shower is used, the water in your area and the cleaning products in the cupboard, so we will not give you a number that sounds precise and is not. Watch the surface: when water stops beading and starts darkening the floor, the sealer is thinning and it is time to refresh it.
No. The Zavoré Academy in Birmingham teaches Venetian and decorative lime finishes, Marmorino, polished plaster and metallics on the three day beginner course at £750, and more advanced work on the four day course at £1,200. We do not run a microcement course. We do supply the material, and we lay it.
Where to go next: if you are specifying a bathroom, start on the microcement page for the material and colours, then read microcement over tiles if you are working with an existing bathroom rather than a strip out. If you would rather we built the tray ourselves, call 07592 929191 and tell us what is under the floor.
How microcement floors work in kitchen extensions across Greater Manchester, from the screed underneath to underfloor heating and everyda...
Buying GuideA product by product guide to the protective finishes in the Zavoré shop and which plaster each one is made for.
CommercialWhat London restaurant, bar and hotel operators should know about decorative plaster. Which finishes stand up to busy service, out of hou...
BirminghamFor people thinking about leaving another job for decorative plastering. What a beginner course at the Zavoré Academy covers, the gap bet...
TadelaktAn in depth guide to tadelakt, the polished Moroccan lime plaster, for bathrooms and wet rooms in Welsh homes, cottages and holiday lets.
DubaiHow polished plaster works on staircases and lift lobbies in Dubai villas, from tall stair walls and handrail fixings to protecting busy ...

Providing luxury finishes for the most prestigious addresses in the world
Venetian plaster, limewash, microcement, tadelakt, metallics, sculptural plaster and gold leaf, supplied and installed by our own team, with Venetian plaster taught at our Birmingham studio.
One list, run by the people who make the material. No noise, and nothing we would not want to read ourselves.
We email as the house has something worth saying, never daily. Unsubscribe from any email, or reply STOP to any text. We never pass your details to anyone.